
It presses onto your upper arm and fills on its own. No needle, nothing to push in. The video usually answers the thing people are actually worried about.

Read this all the way through before you start. It takes about twenty minutes, and most of that is waiting — four minutes warming the arm, then up to ten while the device fills on its own. The Tasso device presses onto your upper arm and draws the sample itself: no needle, no finger to prick.
Three things decide whether your result is usable. Do these first.
1. Fast for 8 to 12 hours. Water is fine and encouraged. No food, no milk in your coffee, no juice. Several markers on your panel cannot be read correctly on a fed sample.
2. Be well hydrated. Water the evening before and a large glass on waking. This is the biggest single thing you control that decides how quickly the tube fills.
3. Collect first thing in the morning — before you eat, and before any medication or hormone dose.
📅 When to collect — this matters as much as the fasting.
Collect Monday to Thursday, and post it back the same day.
Do not collect on a Friday, Saturday, Sunday or a public holiday, and avoid the days either side of a holiday.
The return mailer is overnight, but couriers do not move samples over a weekend or a holiday. A sample collected on the wrong day sits in a depot, and blood that has sat too long has to be rejected — which means collecting all over again.
If you are not sure whether a week is affected, leave it until the following Monday. The kit keeps.
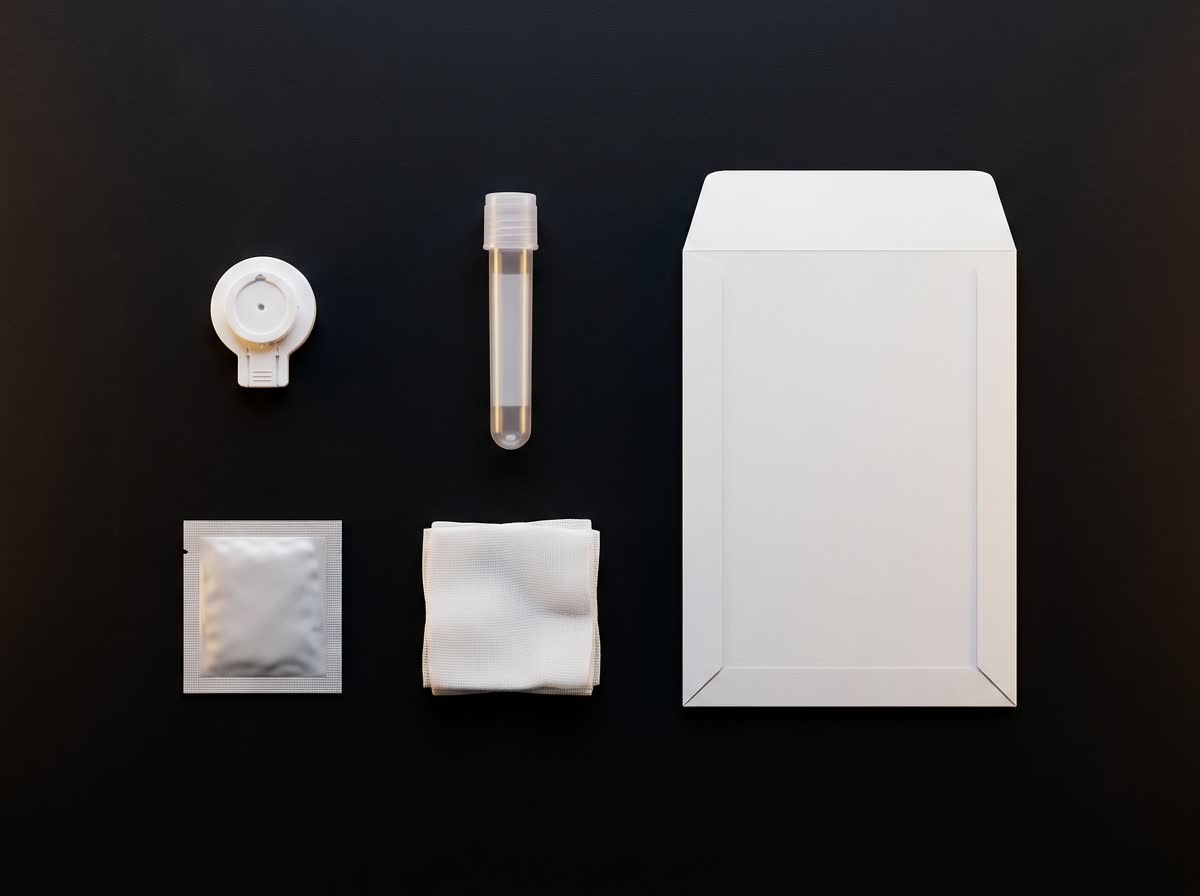
📦 What is in your kit — check all nine before you start.
Heat pack · alcohol swab · collection swab · collection device (FDA 510(k)-cleared) · gauze · bandage · sample bag · FedEx return label · these instructions.
If anything is missing or damaged, stop and call us before you collect. A sample collected with a part missing usually cannot be run.
Timing matters more than anything else here.
If you take hormone therapy of any kind — cream, gel, patch, injection or tablet — collect before your next dose, not after.
If your panel includes hormones and you have periods, write down the first day of your last period and tell us when you register the sample. Hormone results cannot be read correctly without it.
Read these instructions all the way through before you start, and check your kit has everything listed. If anything is missing, stop and call us — do not collect with a part missing.

Take the FedEx return label out of the kit and stick it on top of the label already on your box. Make sure the original label is completely covered.

Confirm you have fasted 8–12 hours and drunk plenty of water. Water is fine, and encouraged, during the fast.

Work somewhere warm on a flat surface, first thing in the morning.

Wash your hands and dry them completely.

If your upper arm is hairy, shave that patch. The device has to seal against skin.
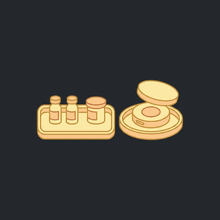
Lay everything out neatly within reach, and lift the Tasso device out of its tray.
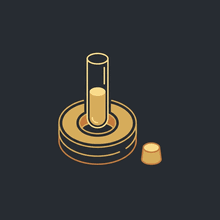
Twist the cap off the collection tube and press the tube into the device until it seats snugly. Do this before the device goes anywhere near your arm.

Activate the heat pad following the instructions printed on it, then hold it on your upper arm for 4 minutes to increase blood flow. Do not skip it or cut it short; it is the difference between a full tube and a wasted kit.
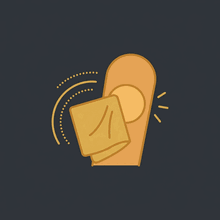
Clean that patch with the alcohol pad and let it air-dry completely. Wet skin stops the device sticking.
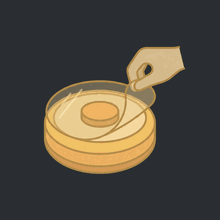
Peel the clear cover off the red button. The device is now ready to go on.
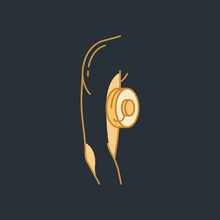
Peel the tab off the device and press it firmly onto your upper arm. Let your arm hang straight down at your side.

Press the button all the way down once, using two fingers, until you hear a click. Then let go.
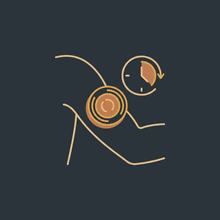
Blood often does not appear for the first one to three minutes. You do not need to hold it — the device stays on by itself. Most people feel nothing.

Leave it up to 10 minutes, or remove sooner once blood reaches the top fill line. Peel the device off from one side — there is no needle in your arm.
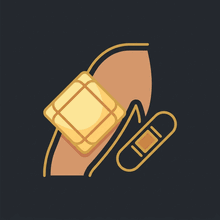
Press the gauze pad on for a moment, then swap it for the bandaid.

Twist the tube slightly and pull it down and away from the device.
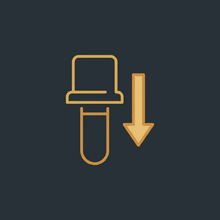
Push the cap straight down until it snaps home. Do not twist it on.
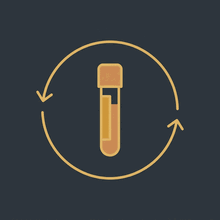
Gently invert 10 full times. Turn it over and back, slowly. Do not shake it — shaking damages the sample and we will ask you to collect again.
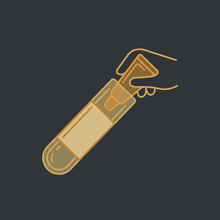
Put the tube inside the specimen bag and seal it.
Short of the lower line? Do not send it. Call us and we will post another kit at no charge. A sample that is too small is rejected at the laboratory, which costs you a week.
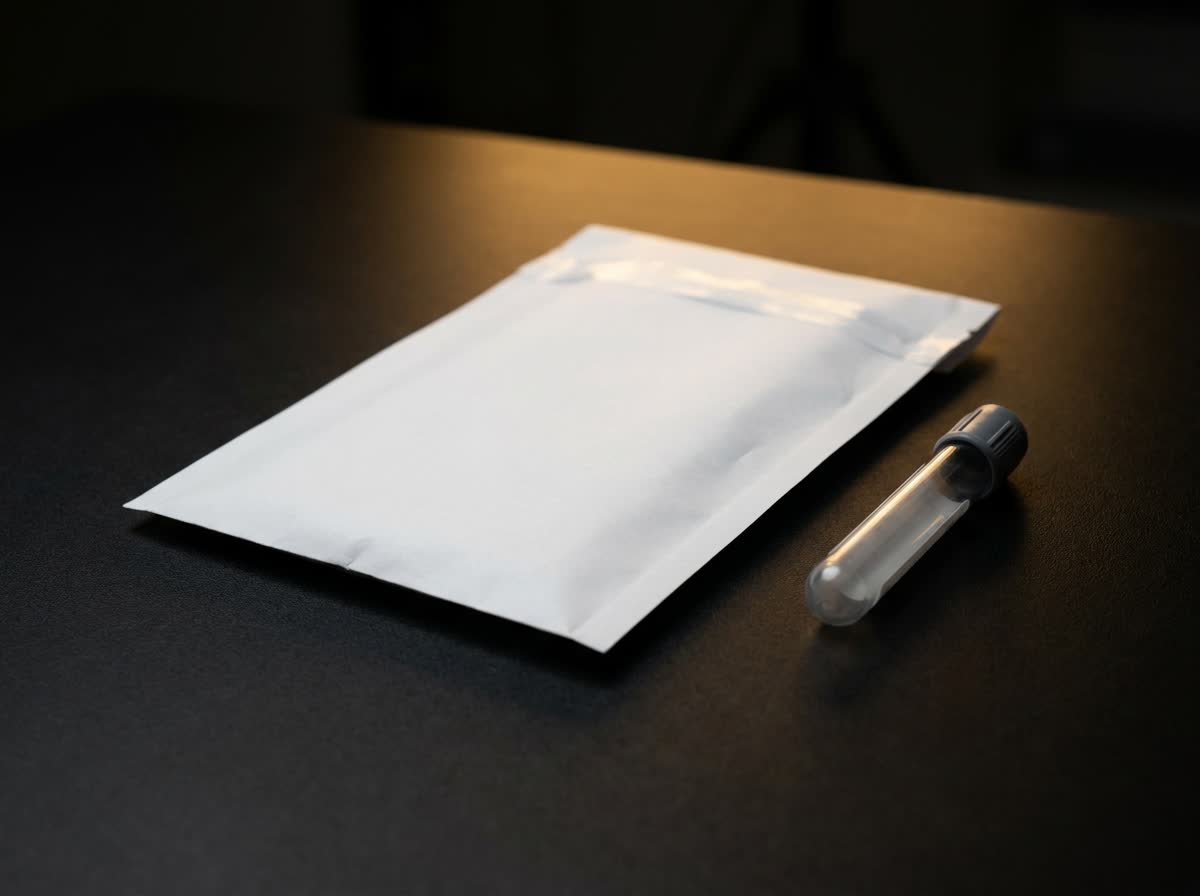

Write the collection date and time on the label on the specimen bag. An unlabelled sample cannot be matched to you and cannot be tested.
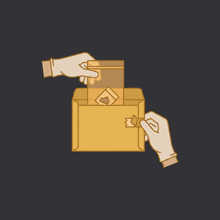
Put the sealed sample bag back into the box and seal it with the included tape. Double-check the original label is completely covered by the return label before it goes anywhere.

Hand it in at any FedEx location, or book a pickup. Do not put it in a post box.

Discard all materials according to local guidelines.

Wash your hands.
Send it the same day you collect it, Monday to Thursday. Never post a sample on a Friday, Saturday, Sunday or public holiday — it will sit in a depot over the weekend.
Send it the same day you collect it. The return mailer is FedEx Priority Overnight straight to our laboratory in Tampa. A sample that sits over a weekend can age past the point where some tests can be reported.
If you collect late in the day, keep the sealed bag at room temperature — not in a fridge, not in a hot car — and send it first thing.
You already have an account. You set a password when you ordered, so there is nothing to register and no QR code to scan. Sign in at labxdiagnostics.com to follow your kit both ways and to read your result when it is ready.
We will let you know the moment it is available. We never send a result by email — you are told it is ready and you sign in to read it.
Your result is reviewed and released by the laboratory. It is not a diagnosis on its own and does not replace care from your own clinician.
LabX Diagnostic Systems · CLIA-certified laboratory · Tampa, Florida
Prefer it on paper? Download the printable PDF — it prints on Letter, switches to a light background, and carries its pictures inside the file so it works offline or as an email attachment. Or take the 5×7 booklet — the same instructions laid out as the folded sheet that comes in the kit.
The manufacturer’s instructions. The device is made by Tasso, and their Instructions For Use — device description, warnings, precautions and the symbols glossary — are here, unaltered. The guide above is ours and covers the kit we sent you; theirs is the regulatory document for the device itself.
Medical disclaimer. LabX Diagnostics and Vantage provide laboratory testing only. Test results and information on this site are for informational purposes and are not medical advice, diagnosis or treatment. Always consult a licensed physician or other qualified healthcare provider about your results and before making any health decision. If you think you may have a medical emergency, call 911. Read the full disclaimer.
Learn: 76-drug confirmation list · Drug library · STI testing · Answers · How it works · Is LabX legit? · Glossary